
Farm Machinery Sample Inspection: What to Check Before Approval
Farm machinery sample inspection: what to check before approval — frame welds, engine tests, load tests, finish, documentation, mass-production consistency.
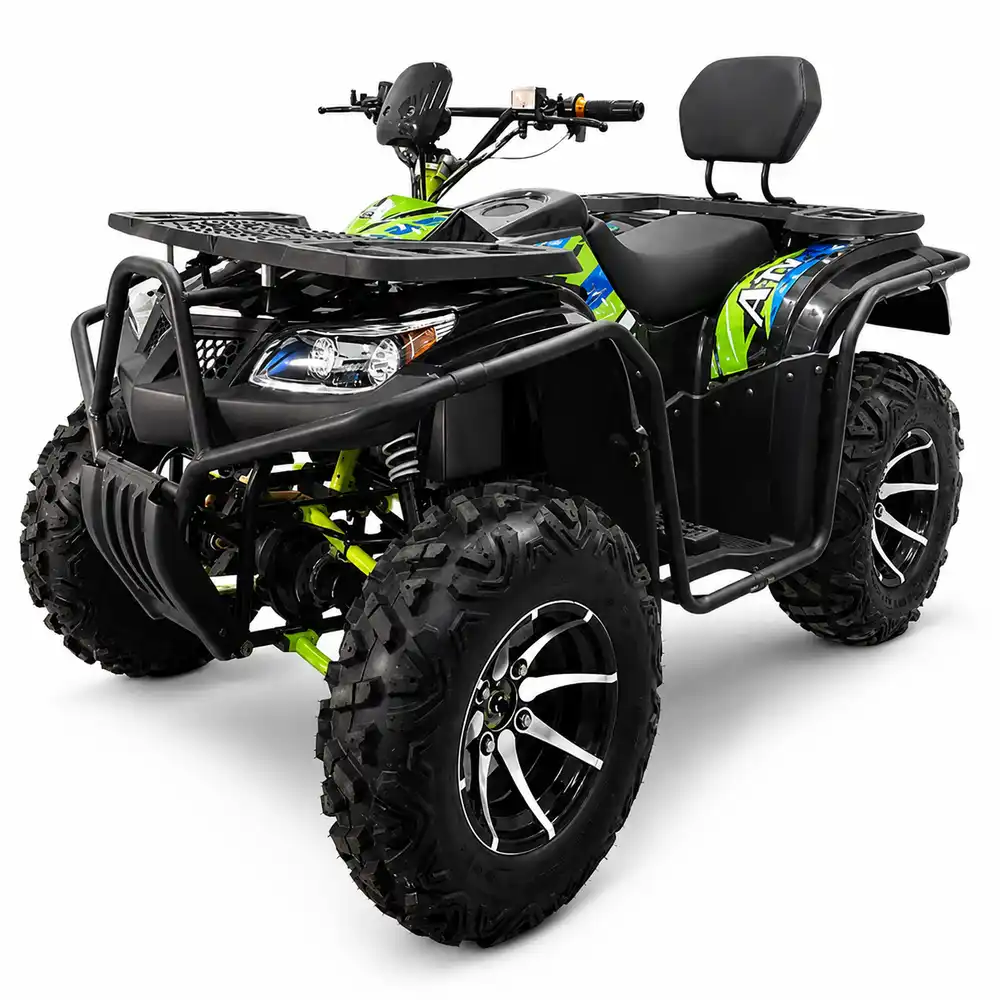
Farm Machinery Sample Inspection: What to Check Before Approval
Buying farm machinery sight-unseen is one of the costliest mistakes an importer can make. A rotavator that stalls under load, a trailer whose welds crack in the first season, or a sprayer that leaks on arrival — every one of these failures can be traced back to the same point: a sample approved without a proper farm machinery sample inspection. This guide is written for B2B buyers — importers, dealers, and OEM sourcing teams — and explains exactly what to check before approval, so the unit you sign off on becomes the benchmark for your entire order.
The logic is simple. The sample is your only physical proof of what the factory can build. If the sample passes, you still need a solid mass-production standard; if it fails, no contract wording or discount will save you from a bad shipment. Treat the inspection as the gatekeeper of your sample approval, and the rest of the process becomes far more predictable.
Why a Farm Machinery Sample Inspection Should Gate Your Sample Approval
In export trading, the sample plays a role that goes far beyond checking that a machine looks right. It is the reference document that the whole order is measured against — the physical embodiment of the specification you negotiated. Once you approve it, the factory is entitled to assume that any machine built to the same standard is acceptable. That is why sample approval without inspection is a decision made in the dark.
Consider the cost of getting it wrong. Defects discovered at destination are the most expensive kind: you pay for return freight, rework, customs handling, and lost selling season, and you explain the delay to your own customers. A thorough inspection costs a fraction of one such failure. In our own export business we have seen both sides of this process — shipments held up by a single weld, and orders that sailed through because a sample had been tested properly before production started. The difference is always preparation.
A properly documented inspection also protects you commercially. The inspection report, with photos and measured readings, becomes evidence if the bulk shipment diverges from the approved standard. Suppliers respond to facts, not impressions. A dated report showing that the sample passed load testing at a specific figure is a much stronger basis for a claim than a general complaint about quality.
When to Inspect: Sample Stages and Timing
There are two moments in the export process where a farm machinery sample inspection matters most: before production starts, and again before the goods are shipped.
Pre-Production Sample (PPS)
The pre-production sample is built to confirm that the factory can produce the machine you specified. It is your chance to verify materials, components, dimensions, and function before the factory commits its production line. Typical export lead times for a pre-production sample are two to four weeks after order confirmation, depending on the machine's complexity, but confirm the schedule in writing when you place the sample order.
Pre-Shipment Inspection (PSI)
The pre-shipment inspection is the second checkpoint: a sample or randomly selected units from the finished production batch are checked against the approved pre-production sample before loading. Most suppliers accept buyer-appointed inspectors at this stage, and many importers combine the PSI with the final quality control on the packing list and container loading. If your budget allows only one visit, prioritize the pre-production sample — fixing a problem there is far cheaper than fixing it on the production line or at the port.
What to Check Before Approval: Core Inspection Points
The sections below follow the order we use in practice: start with the structure, work through the mechanical systems, test the power source, and finish with finish, documentation, and safety. Keep a written record of every check — you will need it later.
1. Frame Integrity and Weld Quality
Start with the skeleton of the machine. Examine the main frame, axle mounts, tow hitches, and any roll-over protection structure. Look for cracked paint lines, weld spatter, undercut, porosity, or incomplete penetration at critical joints — these are the classic failure points under cyclic loading in the field. Where welds are covered by powder coat or paint, note that coatings can hide defects; if you have reason to doubt, ask the supplier to allow inspection before finishing on the next sample.
Measure the critical dimensions against the drawing: wheelbase, track width, working width, hitch height, and ground clearance. Most suppliers will walk through the measurements with you, and the numbers belong in the inspection report. A machine that is dimensionally different from the drawing will cause problems at assembly or with attachments later.
2. Moving Parts, Bearings, and Drive Systems
Rotate every manually movable component — wheels, hubs, PTO shafts, chains, belts, and fold mechanisms. The machine should move smoothly with no binding, no excessive play, and no metal-on-metal scraping. Check chain tension and lubrication, belt alignment, and gearbox oil levels. Spin bearings by hand where possible and listen for roughness.
Check seals and gaskets for leaks, and confirm that grease points are present and accessible. On critical joints, verify that fasteners are torqued to specification and secured with the correct locking method. A loose bolt found on the sample will almost certainly be loose on the production line — that is exactly the kind of detail the sample is meant to catch.
3. Engine and Battery Function Tests
If the machine has an internal combustion engine, run a structured function test: cold start, idle stability, response under no load, and a soak run at working speed for a defined period. During the run, watch oil pressure, coolant temperature, exhaust smoke, and listen for abnormal noise or vibration. Record the hours run and any readings in the report. For electric equipment — electric utility vehicles, electric tractors, battery sprayers — test the battery charge cycle, runtime under load, and charger function, and inspect connectors and cable routing for chafing.
The key word here is "structured." A function test with a start time, duration, and recorded readings is evidence; a quick run around the yard is an impression. Decide the test protocol before you travel and send it to the supplier in advance so the machine is prepared, warmed up, or charged on your schedule, not rushed through on the day.
4. Load Tests and Field Simulation
Machines are built to work, so test them under work. For tractors and self-propelled equipment, verify that the machine moves its rated implement or ballast without strain, and test the hydraulic lift capacity against the rated figure. For trailers and spreaders, load to rated payload and check brakes and suspension response. Where a full field test is impossible — for example, with a combine or large planter — agree a partial test protocol with the supplier beforehand, such as a stationary threshing or metering test, and document exactly what was and was not covered.
5. Hydraulics, Attachments, and Safety Guards
Pressurize the hydraulic system and inspect hoses, fittings, cylinders, and quick couplers for leaks under load. Operate every attachment and fold function several times. Confirm that guards, shields, emergency stops, and warning decals are present, correctly fitted, and functional — missing safety items on the sample usually mean missing safety items on the shipment. Also check that the operator manual and safety labeling are supplied in the language your market requires.
6. Finish, Fasteners, and Assembly Consistency
Inspect paint and powder coat for adhesion, coverage, and runs, and check untreated surfaces for flash rust. Fastener quality matters more than buyers often realize: soft bolts round off in the field and fail under load. Confirm that the fasteners on the sample match the specified grade, and that critical ones are torqued and locked. Finally, look at the fit and finish as a whole — panel gaps, decal alignment, wiring routing, hose clamping. The sample sets the mass-production standard, so the standard you accept here is the standard you will receive in bulk.
7. Documentation and Compliance Pack
Before you sign the approval, verify the paperwork. The sample should arrive with a spec sheet that matches the approved drawing, engine or battery test records, an owner/operator manual, a parts book, and a wiring diagram where relevant. Check that export documents — packing list, commercial invoice, and any certificates required by the destination market — are in order. Finally, mark the approved sample with a unique serial number or label, photograph it, and keep it in storage. It is your reference standard for the entire production run.
Sample vs. Mass-Production Standard: What to Compare
A sample is only useful if the production run matches it. The table below shows the checkpoints where the approved sample and the mass-production standard must be compared — and what to verify at each one.
| Checkpoint | Approved Sample | Mass-Production Standard | What to Verify |
|---|---|---|---|
| Frame and welds | First article, hand-inspected | Batch-welded on the production line | Weld appearance and penetration at critical joints; dimensional sampling on every batch |
| Components | Selected or verified parts | Bulk-purchased production parts | Brand, rating, and material spec match the sample |
| Engine or battery | Bench-tested unit with recorded readings | Production-line tested units | Batch test reports and run-in records |
| Finish | Carefully finished unit | Line-applied coating | Film thickness, adhesion, and coverage |
| Fasteners | Torqued to spec during inspection | Air-tool assembly on the line | Torque audits, thread locking, and fastener marking |
| Documentation | Full pack with the sample | Pack issued per shipment | Packing list, manuals, and certificates per container |
Agree in writing, before production starts, which of these checkpoints will be sampled on the production batch and how often. Most suppliers will accept a reasonable sampling plan, such as measuring critical dimensions on a set number of units per batch and running a random function test on a smaller number. The point of farm machinery QC is not to distrust the factory — it is to make the acceptance criteria explicit on both sides.
Farm Machinery Sample Inspection Checklist
Use this checklist as the backbone of your inspection report. Print it, fill it in on site, and attach photos to every line.
- Confirm inspection date, location, and test protocol in writing before you travel.
- Bring the approved drawing, spec sheet, and a copy of this checklist.
- Visual inspection of frame, welds, fasteners, and finish.
- Dimensional measurement of critical points against the drawing.
- Manual function checks: controls, linkages, fold mechanisms, and attachments.
- Engine or battery function test with recorded readings and run duration.
- Load test and hydraulic pressure test with results noted.
- Safety guard, emergency stop, and decal verification.
- Documentation review: spec sheet, manuals, test records, export documents.
- Photograph and video every test step and any defect found.
- Sign a joint inspection report with the supplier; each side keeps a copy.
- Lock the approved sample in storage for comparison with the first production batch.
From Inspection Findings to an Approval Decision
When the inspection is complete, sort the findings into three categories. Approve: every critical point passes and minor remarks are logged for reference. Conditional approval: pass on the condition that specific defects are corrected, with a deadline and a re-inspection before shipment. Reject: critical failures in structure, function, or documentation — ask for a new sample and repeat the process. Never approve a sample you could not defend to your own customers.
Remember that sample testing is a negotiation tool as much as a technical check. The findings give you the language to push for corrections, better components, or adjusted documentation — while the supplier gains a clear, written standard to build against. Done well, the process ends with both sides confident, which is exactly what a long-term export relationship needs.
FAQ
How long does a typical farm machinery sample inspection take?
It depends on the machine and the test protocol. A simple implement such as a cultivator or spreader can be inspected in half a day; a tractor or self-propelled machine with an engine soak run and load test typically takes one to two days. Budget extra time for travel and for the supplier to prepare the machine.
Can I rely on photos and video instead of inspecting the sample in person?
Photos document appearance, not function. A remote review is useful for screening obvious defects, but weld quality, engine behavior under load, and dimensional accuracy are difficult to verify remotely. For high-value machinery, an on-site visit or an independent third-party inspector is the safer route.
What should I do if the sample differs from the mass-production standard?
Ask for units from the production batch to be inspected against the approved sample before shipment. If the gap is significant, agree a corrective action plan with a deadline, re-inspect the next batch, and only then release the order for shipping. The inspection report and sample photos are your evidence for this conversation.
Who pays for the sample and its shipping?
Practices vary by supplier. Many suppliers charge for the sample at cost and refund the amount against a production order, while the buyer usually covers freight and any inspection travel costs. Confirm the terms in writing before ordering the sample so there are no surprises.
Do I need a third-party inspector for sample testing?
Not always, but an independent inspector adds credibility when your team cannot travel, and the report carries more weight in a dispute. If you use your own staff, send the same person or a consistent checklist each time so results stay comparable across suppliers and shipments.
What documents should accompany the approved sample?
A signed inspection report, the approved spec sheet and drawings, test records from the function and load tests, and a copy of the operator manual. Keep the sample itself in storage — it is your reference standard for the entire production run, not just the first container.
Final Word: Make the Inspection the Gatekeeper
The farm machinery sample inspection is not a formality — it is the cheapest insurance available to any buyer of imported equipment. It defines the mass-production standard, protects you against silent specification changes, and gives you documented evidence if a shipment goes wrong. Approve a sample only when the structure, moving parts, power source, load performance, finish, and documentation all check out. When the sample earns its approval, the order has the best possible chance of earning yours.